Pinhole Cameras
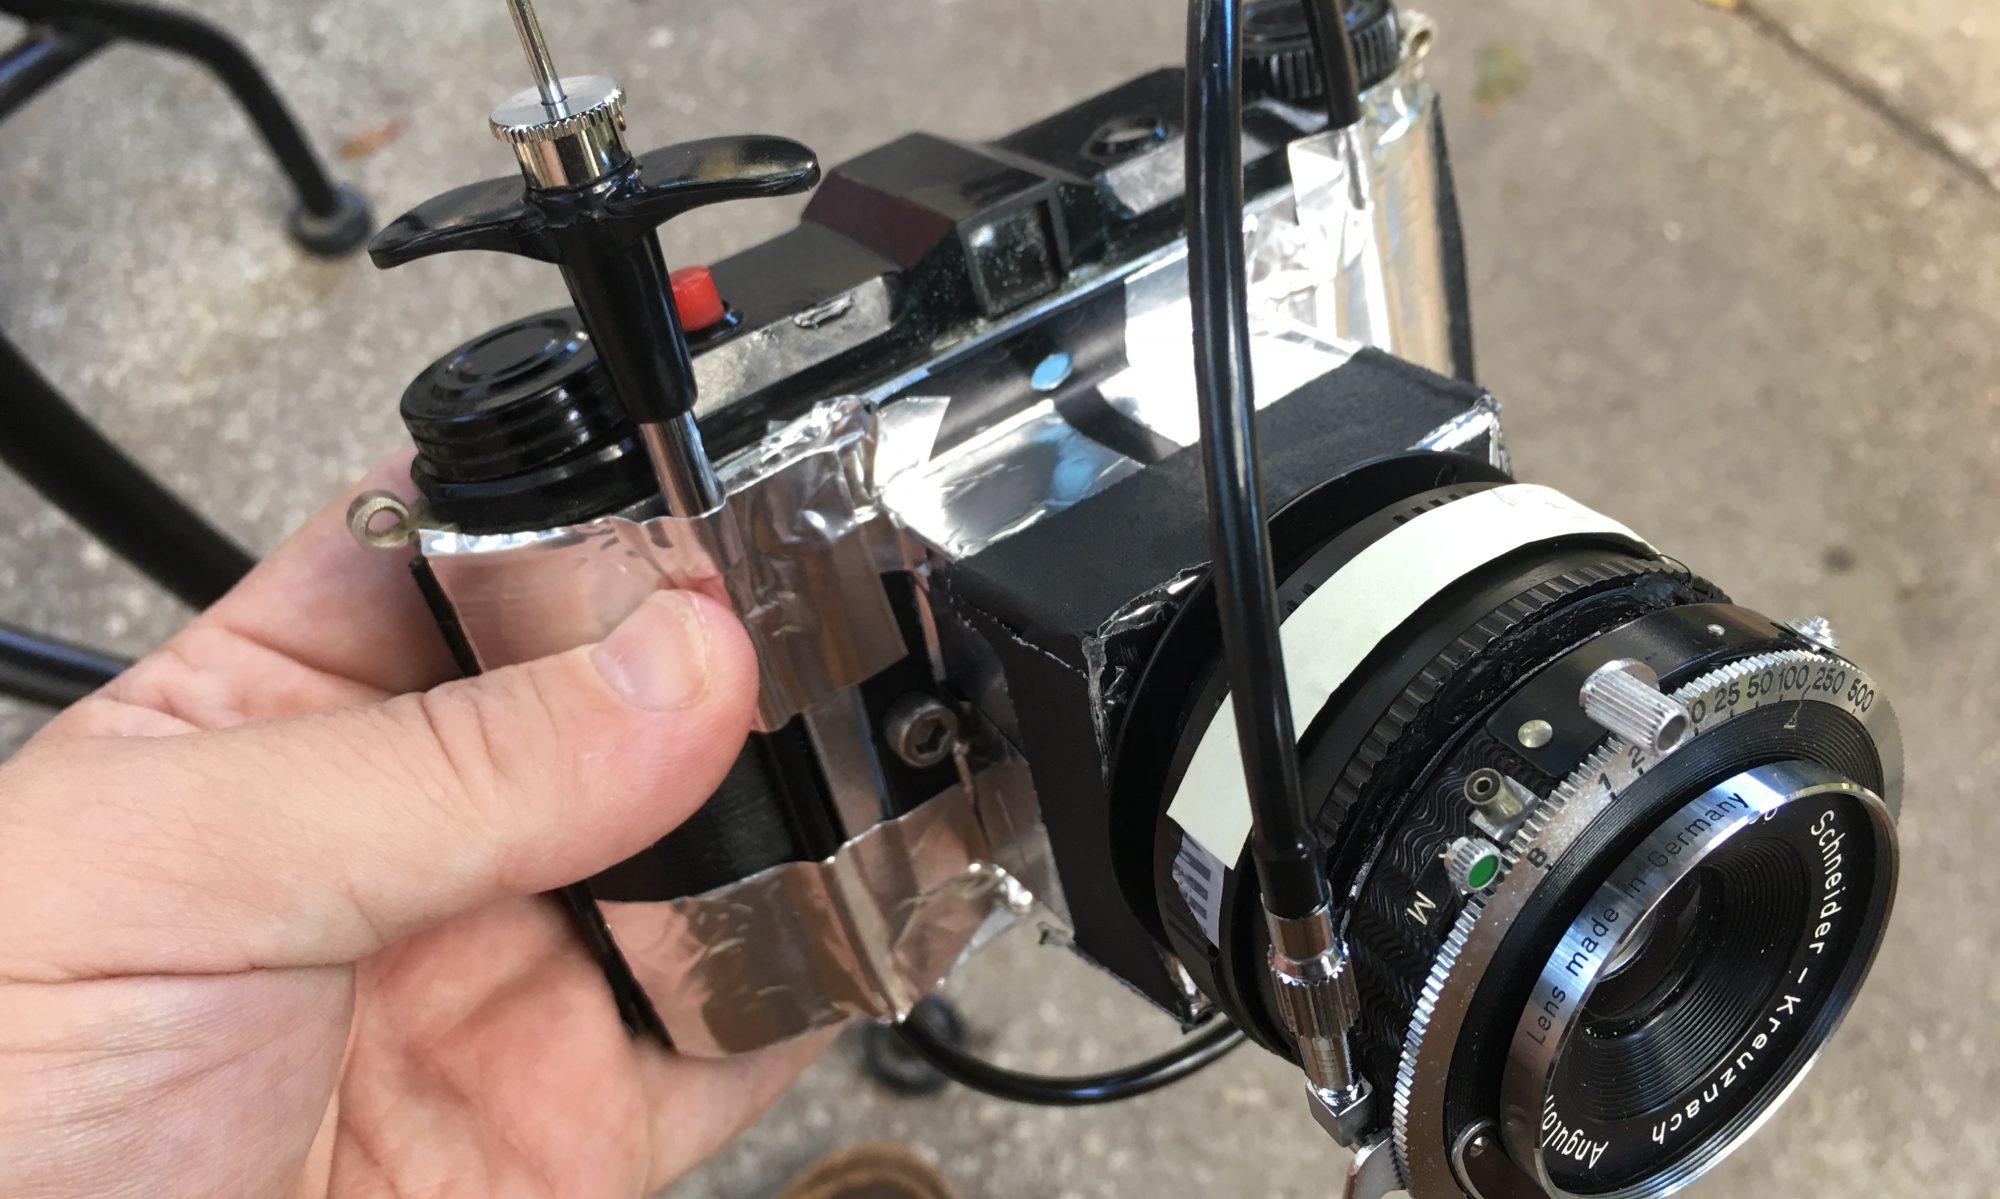
Pinhole cameras are made of three basic components: The pinhole, the light-tight box that houses the film and the shutter.
Determining Pinhole Size
The size and the roundness of the pinhole for a pinhole camera will determine the sharpness of the image it produces but in practicality as long as it is actually a pinhole an image is able to be produced. However, a calculation of ideal pinhole size is required for an ideal sharpness.
The Pinhole Calculator from Mr. Pinhole is one of the best out there. Before you use it, you will need to have the following information available:
- The focal length of the camera. This is a measurement of the distance from the pinhole to the film plane in millimeters .
- The size of the image in millimeters. This is the larger measurement of a non-square image. For instance, a standard 35mm frame is 24mm by 36mm. Enter 36mm in the calculator
- Since the calculator will also include exposure information, it asks for film speed. You do not need to enter this to determine the pinhole size.
Once you have entered the information, press calculate. On the right side of the calculator the “Optimal Diameter” is displayed. This is the target for the size of the pinhole.
Making Your Own Pinhole
A pinhole can be made from any metal sheeting but in truth using aluminum with a weight about the same as a soda or beer is the best bet for most applications. Follow these steps:
- Cut a square from the side of an aluminum drink can about an inch on a side. It doesn’t have to be perfectly square.
- Using a sharp sewing needle, press down firmly on the surface of the aluminum. The goal is not to form a hole in the first go but to create an impression in the metal.
- Turn the metal over and examine the surface. You should be able to see a small round peak the size of a pimple on the surface. If you cannot see this peak, turn the metal back over and press again until the peak shows.
- Using an emery board or a square of 150-300-grit sandpaper, sand the peak until it is flat to the remainder of the surface. The goal is not to press it down to make it flat but to sand away the metal peak to reveal the hole. It is unlikely to appear on this first pass so we will need to repeat this process:
- Flip the metal over again and push down again in the same spot.
- Flip the metal one more time and again sand the surface until it is flat to the remainder of the surface. Repeat until the hole is revealed.
- The hole is most likely not perfectly round. To make it round, press the end of the needle to the hole but do not press it through as that would make a hole too large for most implementations.
- (Optional) If you have a scanner, put the pinhole on the scanner’s glass and scan the metal at a resolution of 100 pixels per millimeter. Open the resulting scan in a program that allows you to zoom in closely so the pinhole fills the screen of your computer and you can see each pixel that makes up the image. At this scale, a 0.3mm pinhole would be 30 pixels across.
Buying Pinholes
There are some advantages to buying pre-drilled pinholes. Since the best results come from exact pinhole sizes and perfectly round holes, laser-drilled pinholes produce the sharpest results. Keep in mind, however, that “perfect” may not be your goal and “interesting” is much more satisfying in many situations.
Graham has found that eBay seller “fireseller66” has available very good pinholes in a variety of sizes for reasonable costs.
The Body
The purpose of the body is to keep light off of the film until the exposure is made. It should be large enough to hold the film transportation system if roll film is the choice.
For best results, the body should be free of reflection on the inside to avoid hot spots in the image. Reflective surfaces can be spray-painted a matte black or covered with a spray flocking. black velvet also works well.
Each opening will need to be light-tight when the film is present. The basic principle is to avoid a direct light beam entering the interior. Light travels in straight paths so a right angle followed by another right angle of either direction should be light-tight by design. Think of a corner in a large city’s downtown area: A flashlight beam will not turn the corner but may be reflected off the wall of the next building. If you go around the next corner, the light from the flashlight in the original position will not follow.
Black electrical plastic tape will block out most light. Gaffer’s tape will block out most light if used in two layers. Blue painter’s tape will require many layers to become opaque and should be tested before it is relied upon.
Openings for advancing roll film should be protected by a device that keeps light out. Tape can be used to create a light block above the opening by winding a length of tape around the shaft of the film advance mechanism so it builds up a thickness of greater diameter than the shaft itself.
The Shutter
(more to come)

